How to connect RazorpayX to Shipturtle so you can pay vendors automatically, including everything you need to collect from your Razorpay dashboard first.
Updated for the current Integrations page · October 2026
⚡Quick Summary
Add the Razorpay add-on, collect your account number, Key ID and Secret from the RazorpayX dashboard, whitelist Shipturtle's IPs, then go to Settings → Integrations → Payment integrations → Configure, add RazorPayX, and enter those details.
Who this guide is for
India-based marketplace owners and admins who want to pay vendors through RazorpayX. All payouts are processed through your own Razorpay account, so you keep central control.
Before you begin
Make sure you have the following ready in Razorpay:
- A RazorpayX account with KYC and business verification complete.
- Live mode switched on in the Razorpay dashboard (not Test mode), for real payouts.
- Your RazorpayX current account number, found under Banking (Step 2A).
- A Key ID and Secret from Developer Controls (Step 2B).
- Shipturtle's IP addresses added to your IP whitelist (Step 2C).
Step 1: Add the Razorpay add-on
- In Shipturtle, go to Settings → Subscription and billing.
- Under Additional Features, open the Payouts tab.
- Find Razorpay and click Add. Once active, the button shows Added.
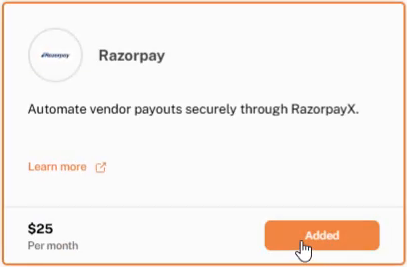
The Razorpay add-on.
Step 2: Get your details from Razorpay
Log in to your RazorpayX dashboard and open Settings from the bottom of the left menu.
A) Copy your account number
- Open Banking.
- Under Current Account, copy the Account No. with the copy icon next to it. This is the account your vendor payouts are sent from.
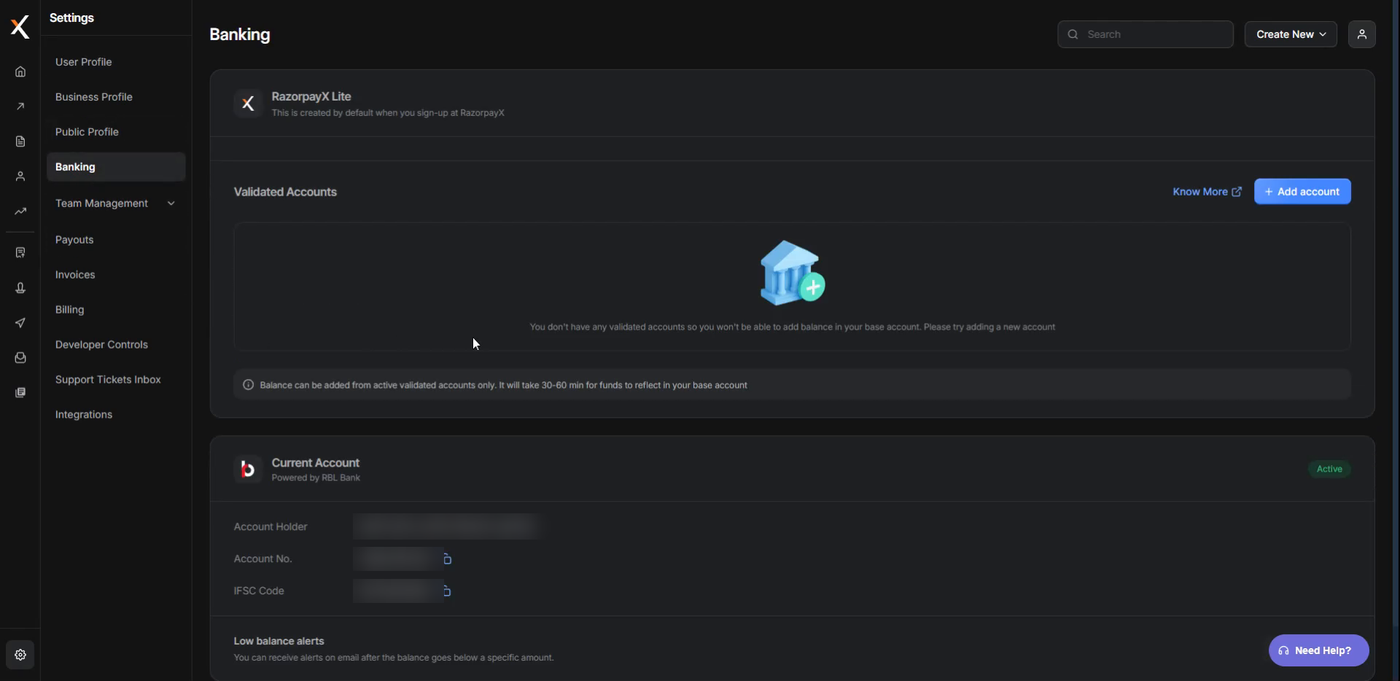
RazorpayX → Settings → Banking. Account holder, account number and IFSC are blurred.
B) Generate your API keys
- Open Developer Controls.
- Under Dashboard Mode, check that it shows Live and Test Mode is switched off.
- In API Keys, click Regenerate Keys (or generate a key if you don't have one yet).
- In the Roll Key window, choose Deactivate old key immediately or Deactivate old key in 24 hours, then click Ok.
- Enter the OTP sent to your registered phone number and email, and click Submit.
- The New API Key window shows your Key ID and Secret. Click Download Key Details and keep the file somewhere safe.
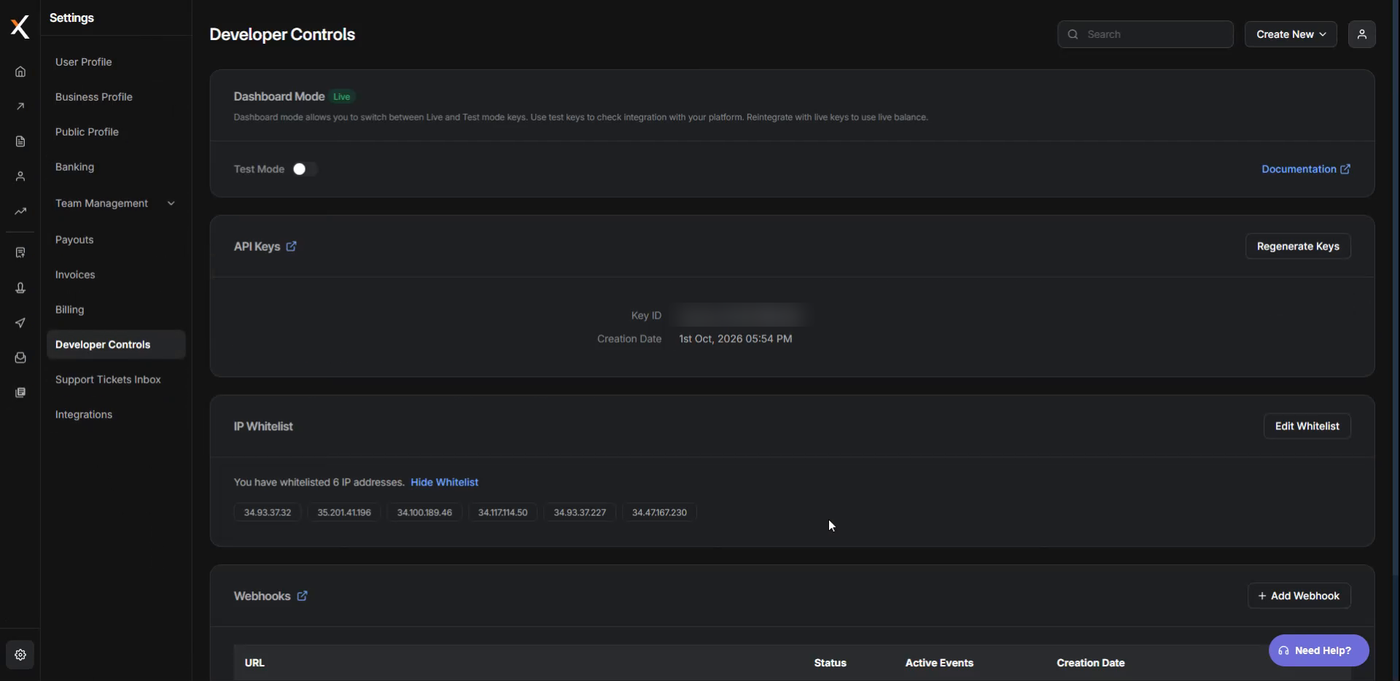
Developer Controls: Dashboard Mode, API Keys and IP Whitelist. The Key ID is blurred.
⚠️ Note: Your Key ID and Secret are shared across RazorpayX and the Razorpay Payment Gateway dashboard. Regenerating them deactivates the old key everywhere it is used, so update any other integrations that rely on it. If you choose Deactivate old key in 24 hours, you have a day to switch them over.
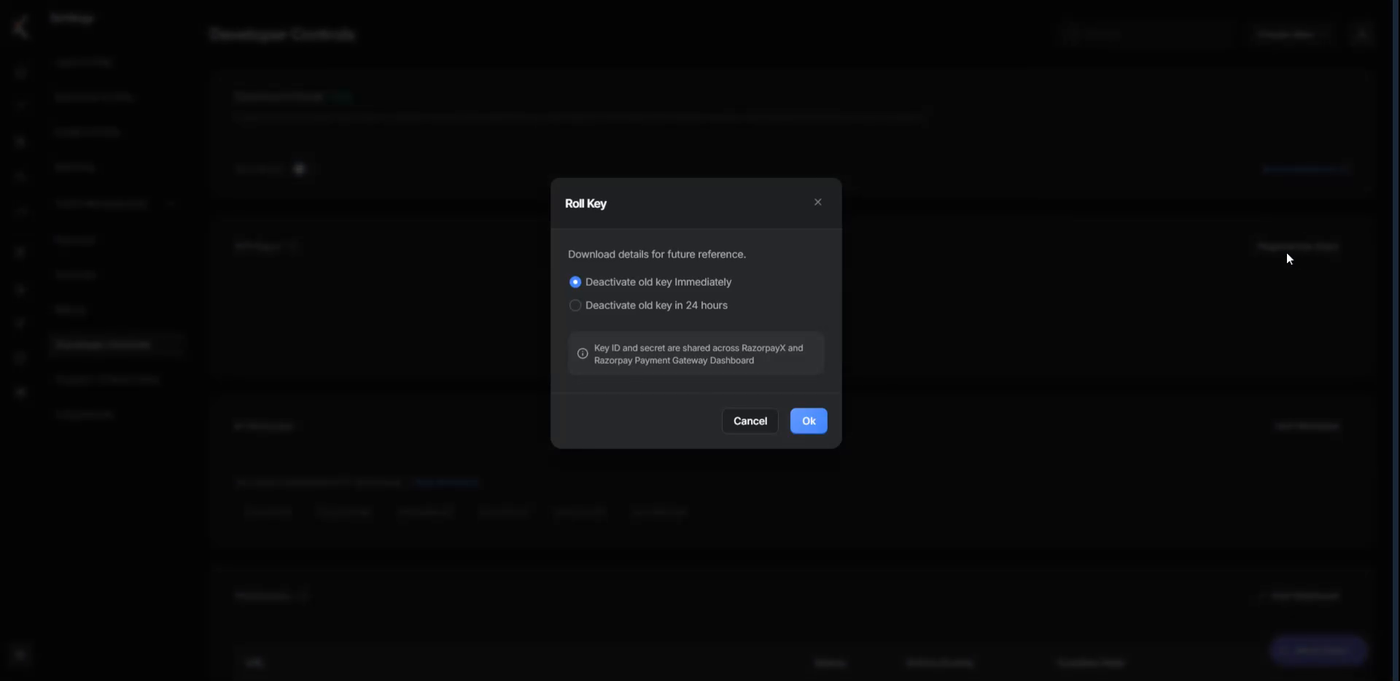
Roll Key: choose when the old key stops working.
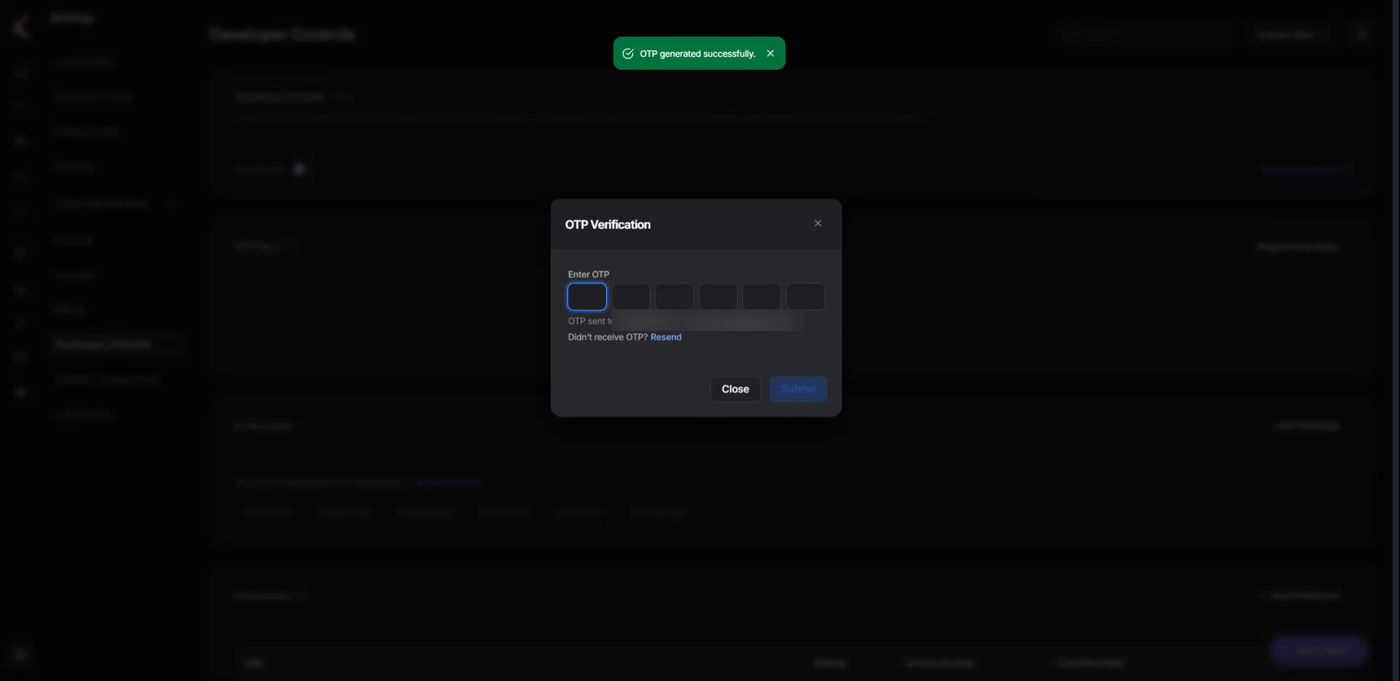
Confirm with the OTP sent to your phone and email. Contact details are blurred.
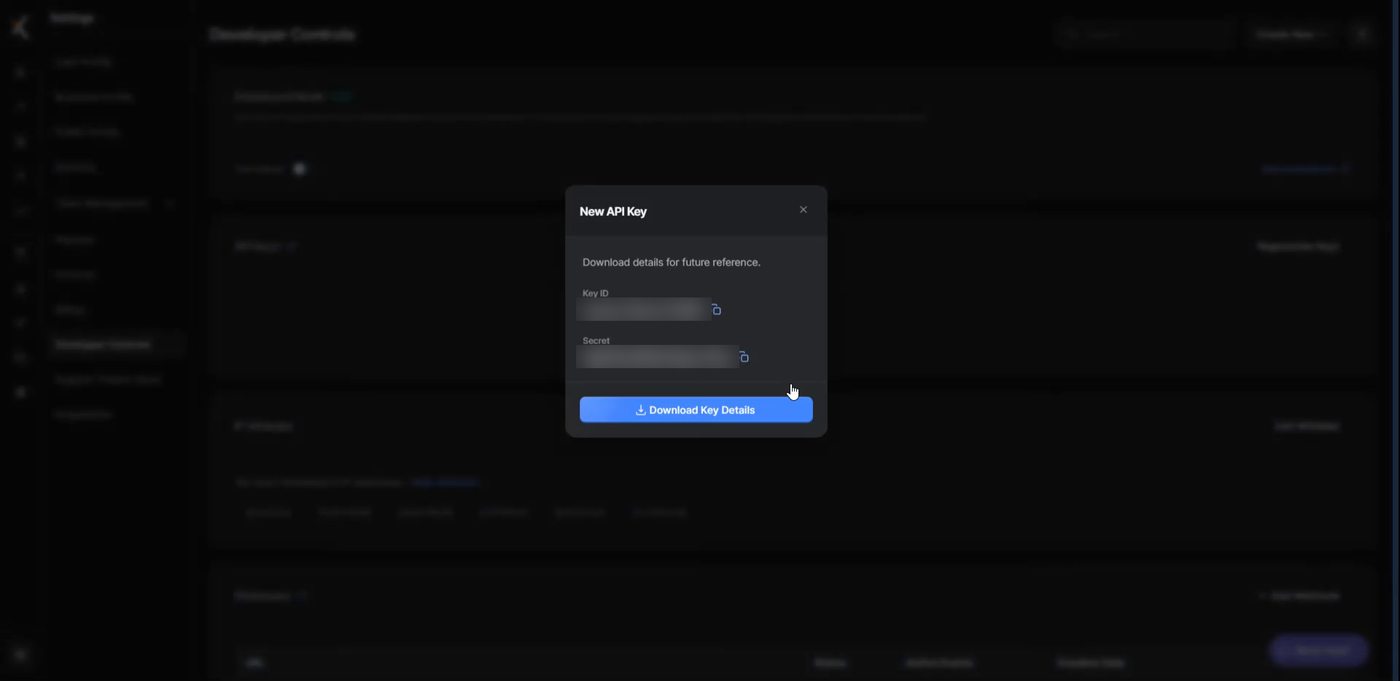
New API Key: download the Key ID and Secret. Both values are blurred.
⚠️ Note: Treat your Secret like a password. Never share it in screenshots, chats or screen recordings.
C) Whitelist Shipturtle's IP addresses
Razorpay only accepts live API requests from whitelisted IPs. In Developer Controls → IP Whitelist, click Edit Whitelist and add all six Shipturtle IPs:
Shipturtle IP addresses
34.93.37.32
34.117.114.50
35.201.41.196
34.93.37.227
34.100.189.46
34.47.167.230
When you're done, the section shows You have whitelisted 6 IP addresses. For more help, see Razorpay's guide to allowlisting IPs.
D) Register webhooks
Shipturtle listens to Razorpay webhooks to update payout statuses in real time. In Developer Controls → Webhooks, click Add Webhook and set it up as follows:
- Webhook URLs: https://api-v2.shipturtle.com/api/v2/razorpay/webhook and https://api.shipturtle.com/api/v2/razorpay/webhook
- Secret (recommended): add a webhook secret for verification.
- Alert email (optional): to be notified of webhook failures.
- Events: payout.initiated, payout.pending and payout.processed.
Step 3: Connect RazorpayX in Shipturtle
- Go to Settings → Integrations.
- Under Payment integrations, click Configure.
- On the Payment integration page, click the + icon.
- In Add Payment integrations, open the Payment gateway dropdown and choose RazorPayX.
- Enter your Admin Account Number (from Step 2A), Razorpay Key ID and Razorpay Secret Key (from Step 2B). All three are required.
- Tick Is Testing only if you're using Test mode keys. Leave it unticked for live payouts.
- Tick Check to make this payment integration as default if you want RazorpayX to be your default payout method.
- Click Submit.
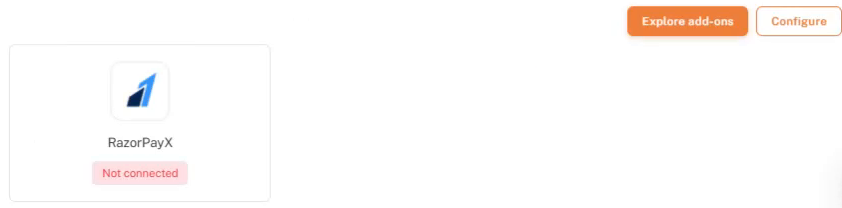
Settings → Integrations: click Configure under Payment integrations.
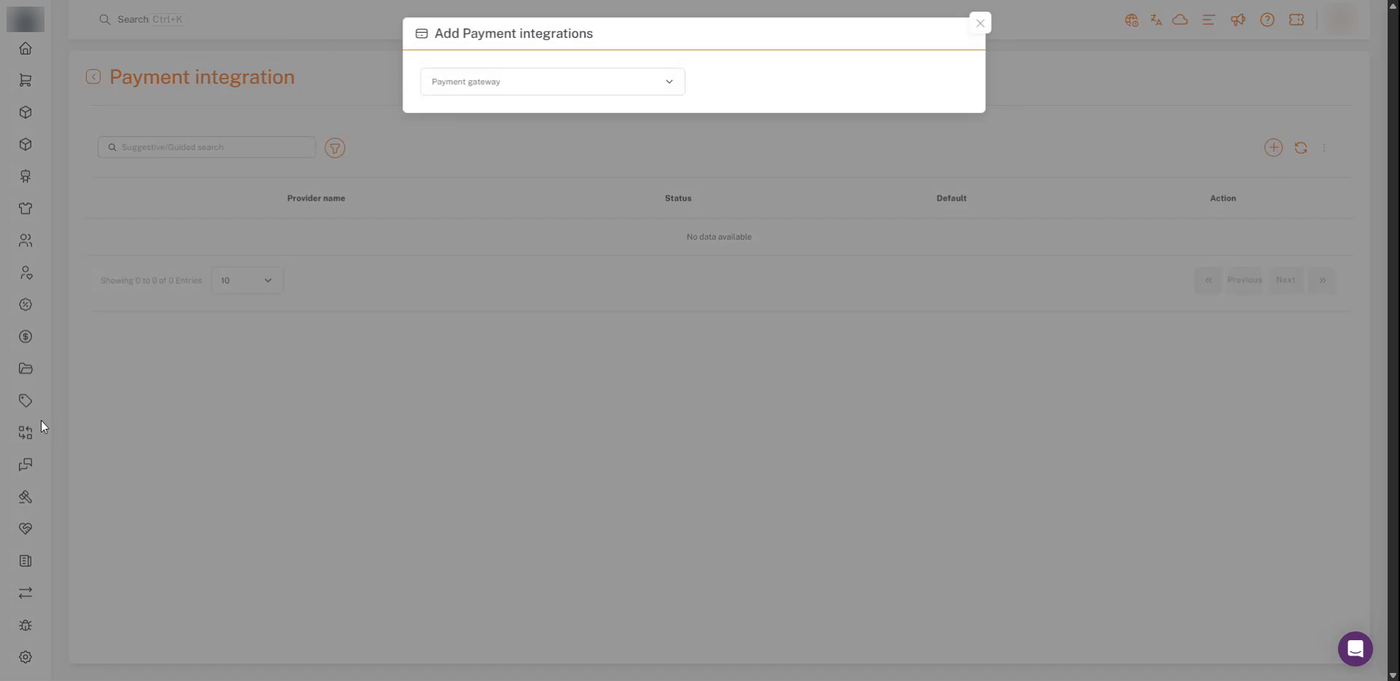
Click +, then choose the payment gateway.
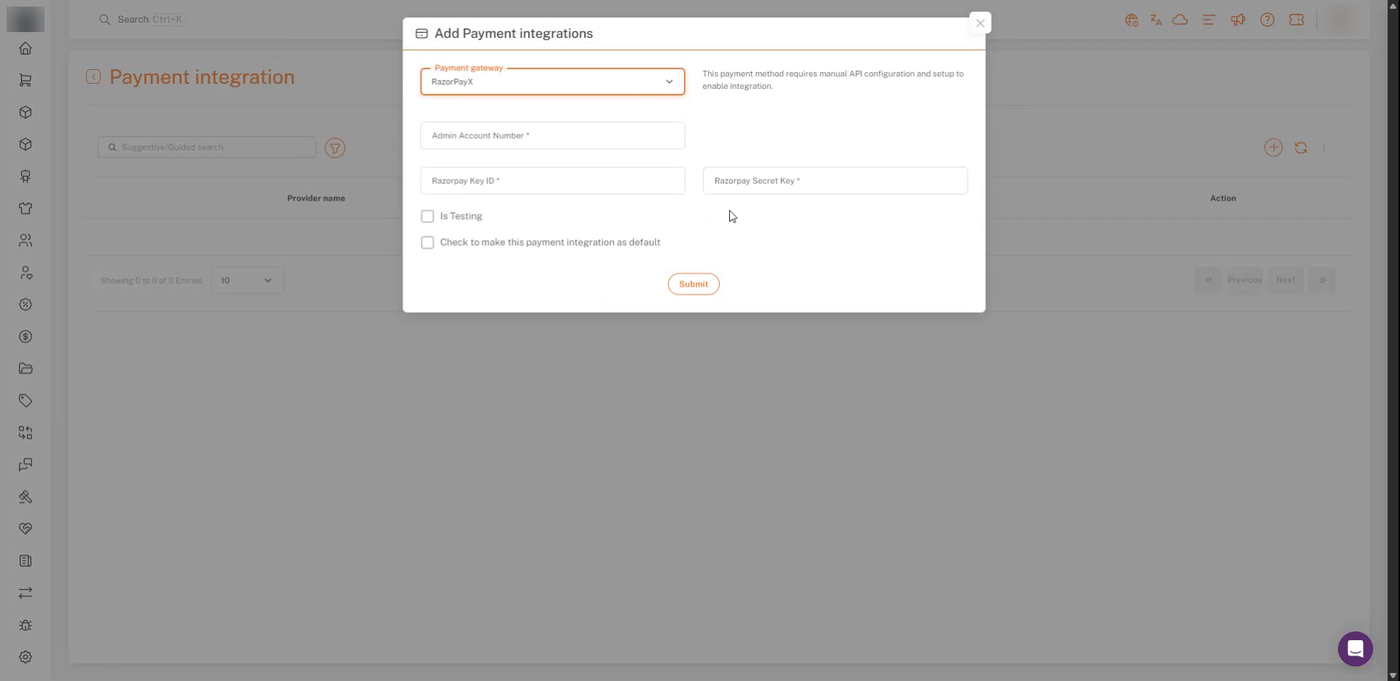
The RazorPayX details form.
Once submitted, RazorPayX appears in your Payment integration list, and you can pay vendors through it from the Payouts page or with payout automation.
Vendor payment details
Vendors who are paid outside RazorpayX can have a Manual payment method (for example, Bank Transfer) set up from their profile under Payment integration. Click +, choose Manual, enter a name such as Bank Transfer with the required details, and click Submit.
Setup checklist
- Razorpay add-on added in Shipturtle
- RazorpayX account verified and in Live mode
- Current account number copied
- Key ID and Secret generated and downloaded
- All six Shipturtle IPs whitelisted
- Webhooks registered with the three payout events
- RazorPayX added under Settings → Integrations → Payment integrations
FAQs
Can I use Razorpay test keys?
Yes, for testing. Tick Is Testing in Shipturtle. Switch to live keys, and untick Is Testing, before paying vendors for real.
Which account do payouts come from?
Your RazorpayX current account, the account number you entered as the Admin Account Number.
Is Razorpay available outside India?
RazorpayX currently supports businesses based in India. For other regions, use another supported payment gateway.
Will regenerating my keys break anything?
It can. The same keys are used across RazorpayX and the Razorpay Payment Gateway dashboard. Update every integration that uses them, or choose the 24-hour option to give yourself time.
Troubleshooting
"This field is required" when I click Submit
All three fields (Admin Account Number, Razorpay Key ID and Razorpay Secret Key) must be filled in.
Payouts fail with live keys
Check that all six Shipturtle IPs are in your Razorpay IP whitelist, and that Is Testing is unticked.
Payout statuses don't update in Shipturtle
Check that both webhook URLs are registered in Razorpay with the payout.initiated, payout.pending and payout.processed events.
My old integration stopped working after I regenerated keys
Regenerating deactivates the old key. Enter the new Key ID and Secret wherever the old ones were used.
Recommended next step
Connect RazorPayX, then run one small payout from the Payouts page to confirm it reaches the vendor before turning on payout automation.
If you're stuck, reach us at team@shipturtle.com or open a ticket on the support page.