Vendor Tags: Creating and Using Tags
Vendor tags let you group and segment vendors for easier management, useful for regional groupings, tiers, categories, or any custom segmentation your marketplace needs. Once created, tags can be used to filter vendors and to scope Vendor Subscription plans to specific groups.
Who this is for
Merchant: Creates tags and assigns them to vendors.
Vendor: Not involved, tags don't affect their own dashboard or listings.
Merchant-Only Actions
Creating and assigning tags can only be done by the merchant, vendors cannot create or assign tags themselves.
Creating a Tag
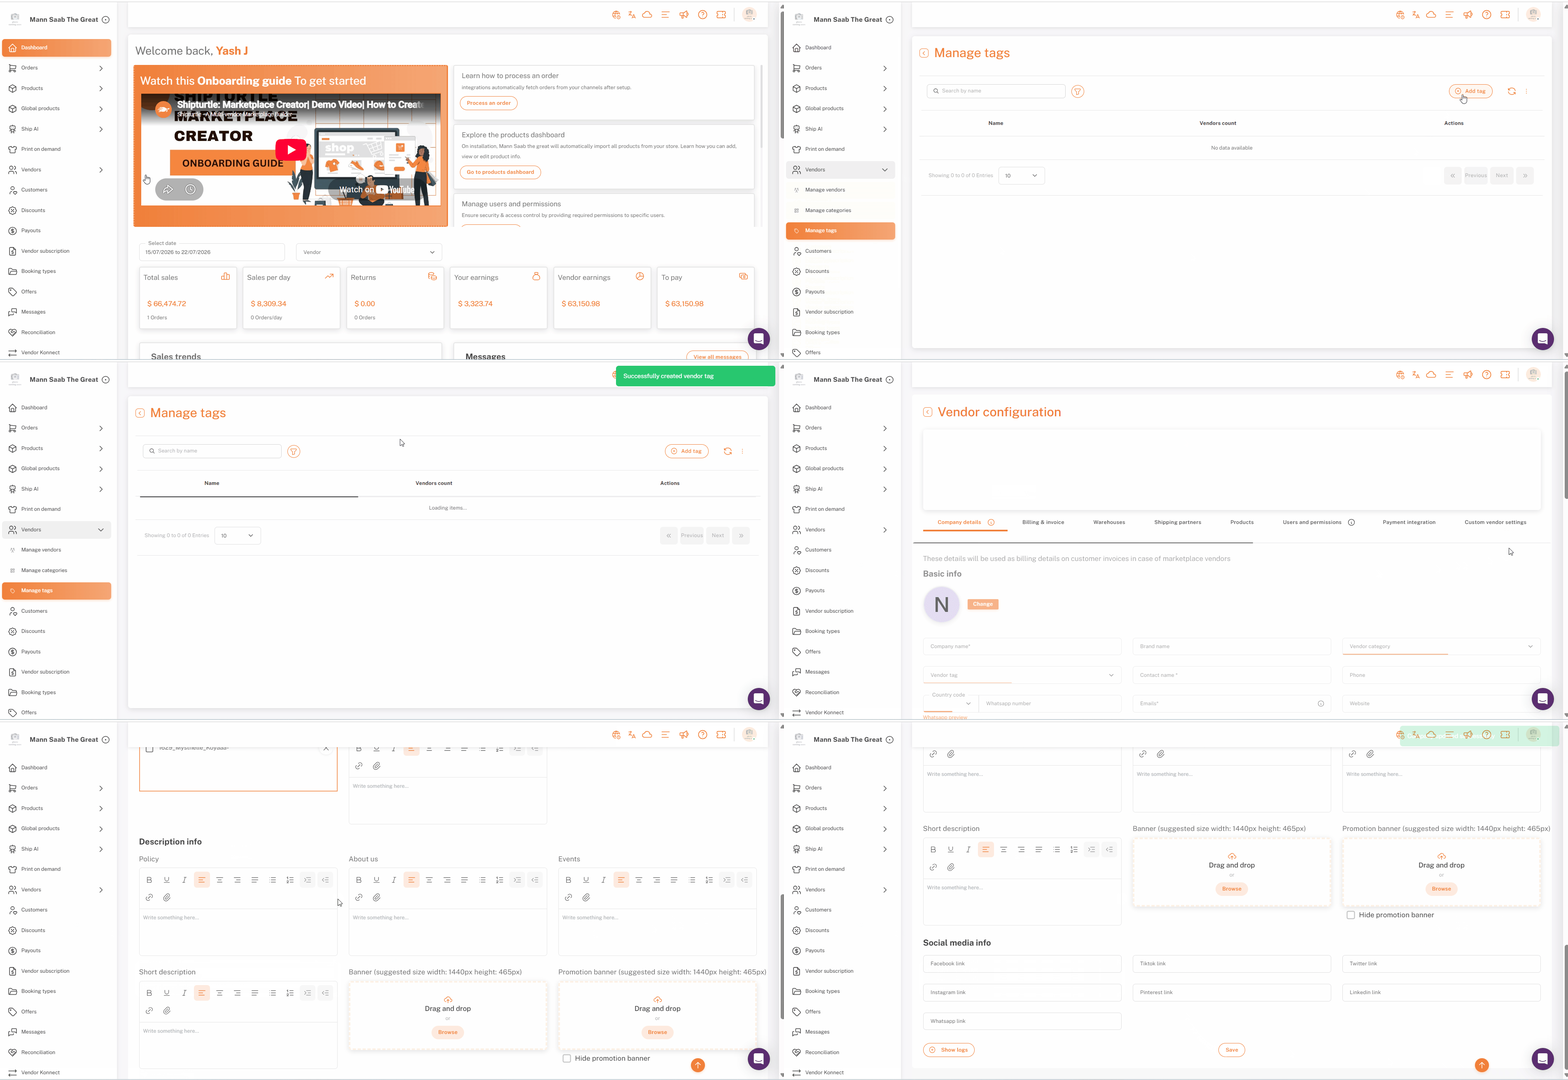
- Go to Vendors → Manage Tags.
- Click Add tag.
- Enter a name for the tag (e.g., "Reseller", "North Region", "Premium").
- Save. The tag appears in your tag list, along with a count of vendors currently carrying it.
Assigning a Tag to a Vendor
- Go to Vendors → Manage Vendors.
- Find the vendor and click the ✎ pencil icon under Actions to open Edit Vendor Details.
- Select the tag from the Vendor tag dropdown.
- Save changes
See View or edit vendor details for the full vendor-editing workflow.
A vendor can be assigned more than one tag. Tags assigned to a vendor are shown as labels on their row in the Manage vendors page.
Where Tags Are Used
- Vendor Subscription plans, for merchants using the Vendor Subscription add-on, plans can be scoped to specific vendor tags, so only tagged vendors see that plan.
- Filtering on the Vendors page, quickly narrow the vendor list down to a tagged segment.
- Filtering on the Orders page, view orders belonging to a specific vendor segment.
- Filtering on the Payouts page, view payouts for a specific vendor segment.
Related articles
- View or edit vendor details, assign tags to individual vendors here.
- Vendor subscription, scope plans to specific vendor tags.
If you’re stuck, reach us at team@shipturtle.com or open a ticket on the support page.